Hands-On Experience: How to Build an eCommerce Store with SvelteKit?
Psst: we are hiring remote frontend developers and backend developers.

Do you want to build an eCommerce storefront using SvelteKit, Houdini, Tailwind, and with product information from the Crystallize GraphQL API? Well, look no further. We have created an open-source boilerplate that connects the dots for this stack.
The Stack
As mentioned above, we have picked a modern stack for the front end using the following frameworks to build our demo. The goal was to get up and running with the front end using SvelteKit and some frameworks that fit well together. For managing the GraphQL queries, we used the Houdini GraphQL client, and Tailwind is managing the styling.
- SvelteKit - for the frontend framework,
- Houdini GraphQL - as the GraphQL client,
- Tailwind - for the styling,
- Crystallize - for the headless commerce backend.
Let’s go over the most crucial tech quickly.
[h3]What Is SvelteKit?
SvelteKit is a framework for building web applications, leveraging the innovative and powerful capabilities of the Svelte UI library. At the core of SvelteKit is, of course, , which compiles components into highly optimized, imperative code that directly manipulates the DOM. This departs from the traditional reactive frameworks that rely on a virtual DOM diffing process. As a result, Svelte-based applications tend to be smaller in size and faster in performance.
[h3]What Is Houdini GraphQL?
Houdini GraphQL is not merely a GraphQL client; it's a robust web application framework that endeavors to simplify, accelerate, and enhance the development journey with GraphQL, providing a blend of automatic and customizable features wrapped in a type-safe, declarative, and composable environment.
Live Demo
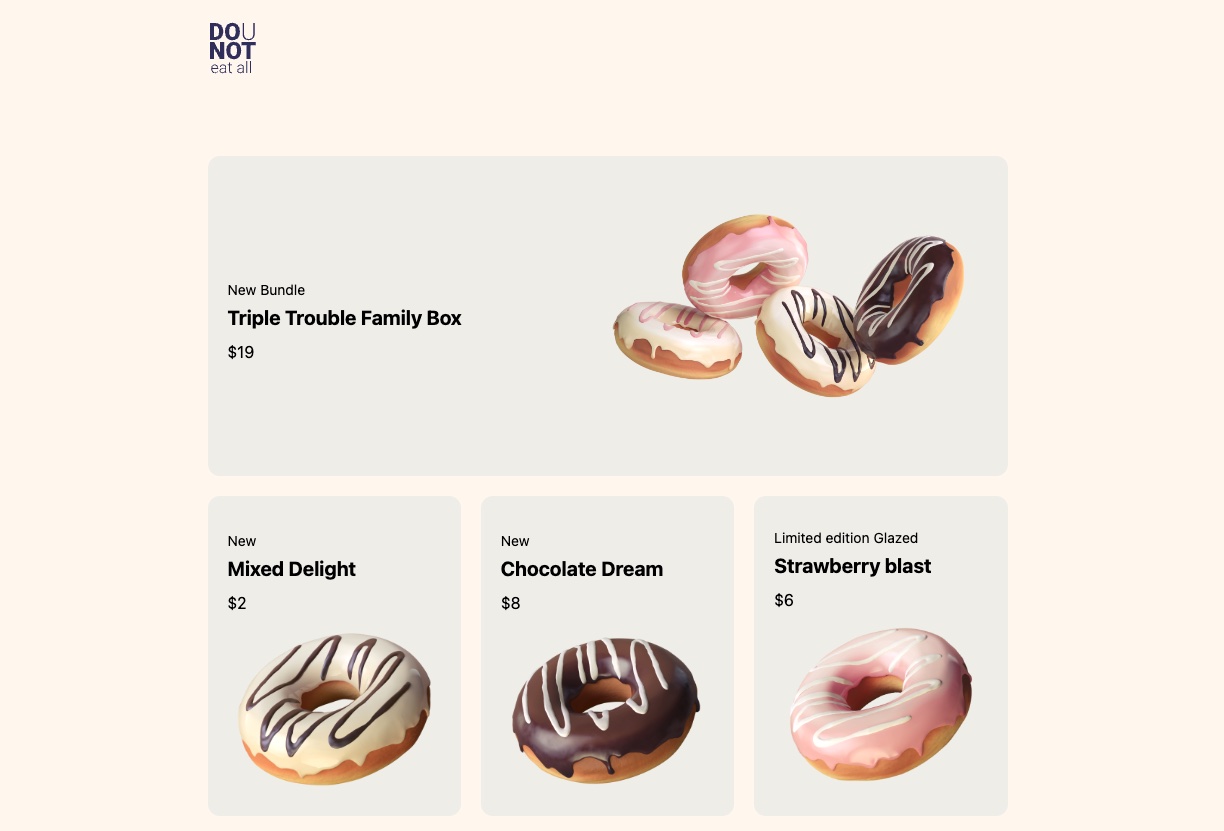
The boilerplate is relatively simple, with a front page that renders products in a grid with a product landing page. But hey, this is what you need to get started. The cart and checkout experience is not implemented here to keep it simple.
For a more complete boilerplate with a full cart, checkout, my page, etc., you can look at our or the . The service API code can be found there and re-used in the SvelteKit example as well.

Getting Started
To get started, you first need to clone the . Simply run the following command:
git clone https://github.com/CrystallizeAPI/dounut-svelte
Once the repository is cloned, you need to install the packages required to run the project. That is as simple as the following two commands.
cd dounut-svelte
npm install
Now you have installed the packages and are ready to run the project locally. This will run the project on . Just point your browser to that address, and you should see the project running locally.
npm run dev
That is it. Now you can start making it yours.
Directory Structure
The files to mention here are the following for the front page.
- src/routes/+page.svelte, this is the route for the front page.
- src/routes/+page.gql, here you have the GraphQL query to fetch the grid and products for the front page.
- src/routes/+layout.svelte, this is a global layout. Here, you tweak the header, footer, etc.
The PLP (Product Landing Pages) are resolved using dynamic routing. The syntax in SvelteKit is to use the [brackets] in the directory name. That will automatically give you a route with the dynamic element being in brackets.
- src/routes/shop/[path]/+page.svelte, this is the route for the product landing page
- src/routes/shop/[path]/+page.js, this is where we load the product before the +page.svelte is loaded. The GraphQL query for the product data is located there. We have to use the .js extension here as we want to modify the GraphQL query with the path variable.
Those are the files you should play with. The front page is a static and simple GraphQL query so that you can use the .gql suffix, and Houdini GraphQL manages the rest. The +page.js is required when you need to do some additional processing before the page is loaded. Here, we have examples of both dynamic and static routing. Quite easy to do in SvelteKit.
Worth Mentioning
Houdini GraphQL does some optimistic caching and assumes you have unique IDs at every level. That is not necessarily the case with Crystallize, as, e.g., components have component IDs that are the same for all products with the same . If you are starting your project from scratch, you should take care of the cache settings in the houdini.config.js file and add the following.
defaultKeys: [],
This will disable the automatic caching that will, in the case of Crystallize, cache all product components with the value of the first loaded product when you fetch a list of them.
If you want to fetch data from your Crystallize tenant, you have the GraphQL endpoint in the same configuration file. Just change the endpoint, and you are good.
Client Side vs. Server Side Rendering
One thing to consider is that the hydration is done first on the server side, and then the next click will rehydrate in the browser, similar to Remix or Next.js. With Houdini GraphQL, the datastore is not waiting for the server side to return the GraphQL data. This means you have to check the store's state if you have the data. If not, it will crash the front end.
Key Takeaways
The abstraction in SvelteKit and Houdini GraphQL makes it very easy to get started with fetching data. It took some minutes to figure out the caching and other things that are done automatically. If you are used to writing frontends without frameworks, it might take a second to get used to the magic.
It was straightforward to get these frameworks working together. On top of it, performance vise, you get fantastic out-of-the-box results. If you have not tested SvelteKit yet, give it a spin. Check the docs, tweak, and personalize the boilerplate. I am sure you will enjoy it.
SvelteKit is fast.
so we can help you understand the ins and outs of our SvekteKit boilerplate. Or, why not with Crystallize.