Custom Workflow Pipelines in Crystallize
Flows allow you to manage processes for your catalogue items in a clear and collaborative way, similar to what fulfillment pipelines do for orders.
Like fulfilment pipelines, flows are optional; you can choose whether you wish to use them or not. Any number of flows can be defined within your tenant to help you manage processes such as:
- Linking to external services (e.g. translation)
- Content governance (e.g. approval workflows for QA or new website content)
- Marketing campaign releases
Flows can be managed with the Core API or the Crystallize App. Below, we'll show you what's possible with the App. To perform these actions within your tenant, you’ll first need the requisite permissions for Flows and the Tree. Refer to our documentation on roles and permissions for more information.
Creating Flows in the Crystallize App
To get started within the App, click the Flows button on the left-hand side of the screen. From here, click the Create Items flow button. Type in a name for the new flow at the top of the screen. An identifier will be automatically generated based on the name you provide, but you can change it if you like. Now, you'll be able to set up flow restrictions and stages.
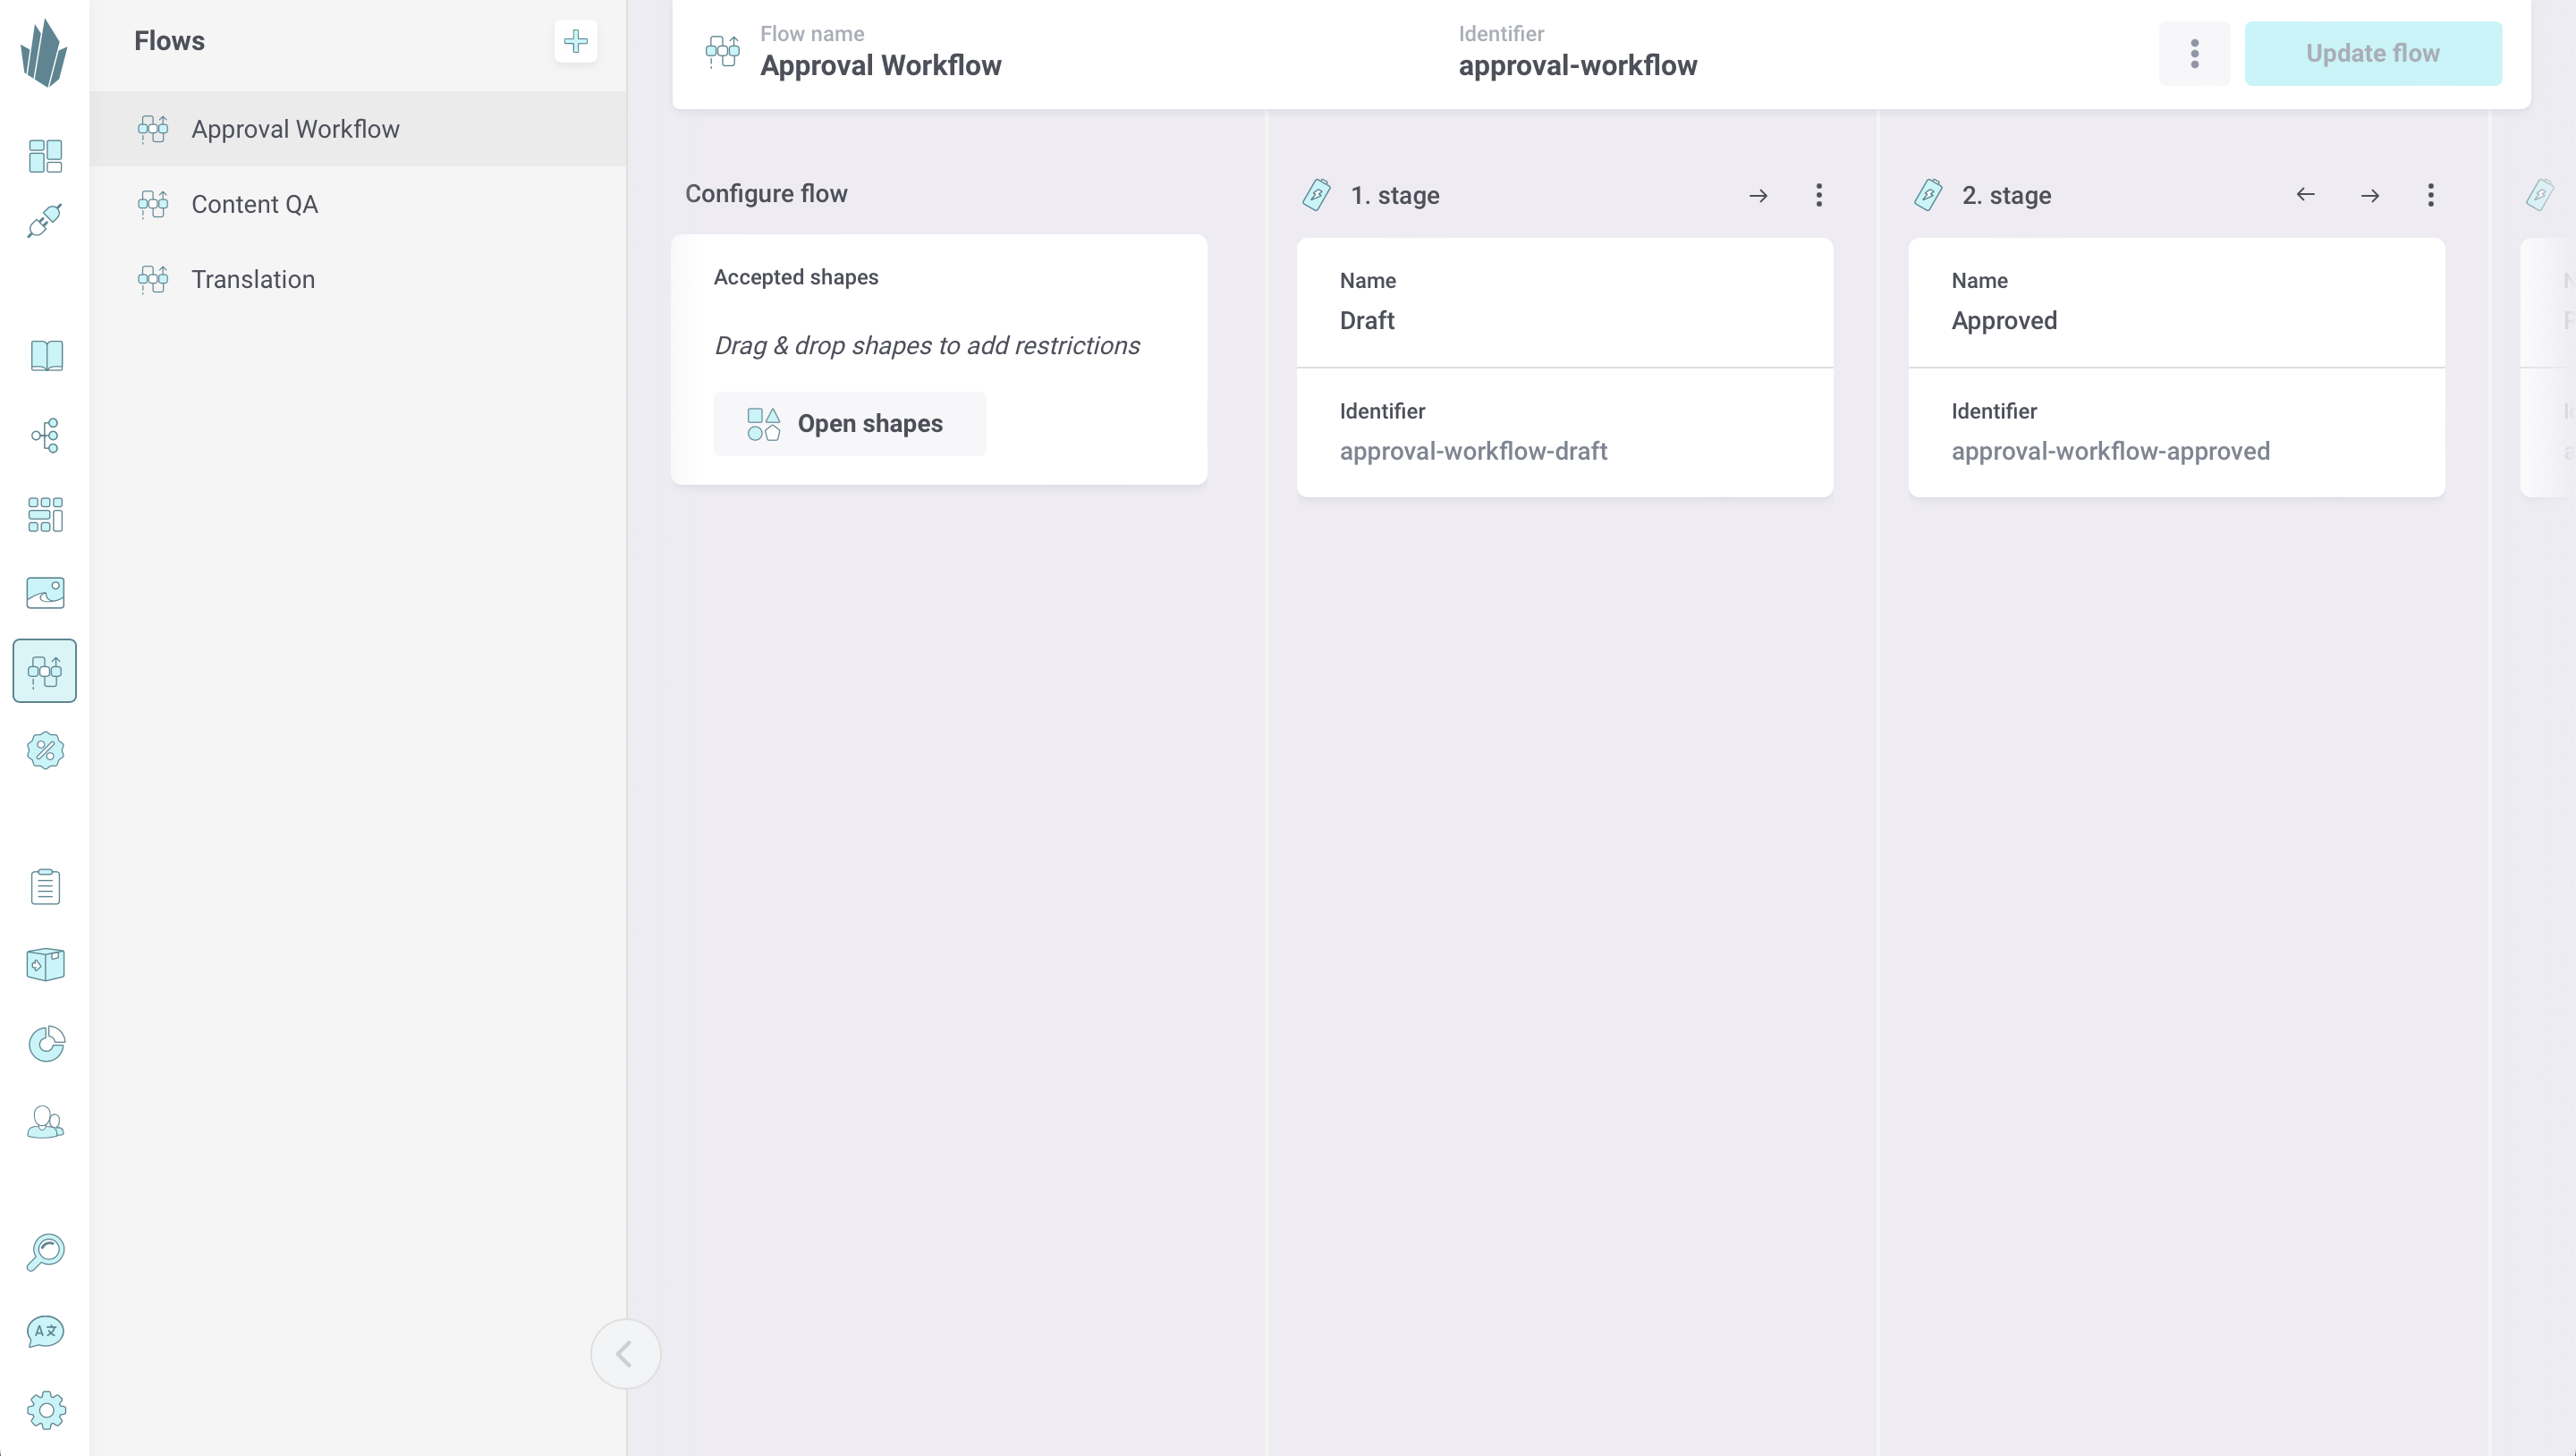
Flow Configuration
You can optionally restrict the items allowed within a flow to certain shape types. For instance, this flow may only be intended for a certain product category, or for blog posts. In the Accepted Shapes area of the screen, click the Open shapes button. This will display your existing shapes in the left-hand pane. Drag and drop as many shapes as desired. The Close shapes button will return the left-hand panel to the normal Flows view.
Flow Stages
A flow is defined by any number of stages. Each flow stage has an action that it performs. The Universal stage type fires a webhook whenever an item enters or leaves it. You can listen for these events and respond programmatically as desired.
Your flow will contain one Universal stage to start. You can add more stages by clicking the Universal button under the Add stage section. As your flow gets longer, use your mouse or left and right arrow keys on your keyboard to scroll horizontally through the stages.
Use your keyboard to enter names for each stage. Flow stage identifiers will be generated based on flow name + stage, but you can change them if you like. You can use the arrow buttons at the top of each stage card to switch the order of stages within the flow, and the action button (...) to remove stages. When you've finished configuring stages, click the Create flow button at the top right of the screen. From here, you'll be able to send items to your new flow.
Sending Items to Flows
You can send any number of draft, published, and/or archived item versions for any language to a flow. The items must obey any shape restrictions that are defined for the flow. Also note that if you send a folder to a flow, the folder will be added but its children will not be. Once sent, the items will be placed in the first stage of the flow, and a webhook will fire for each item added.
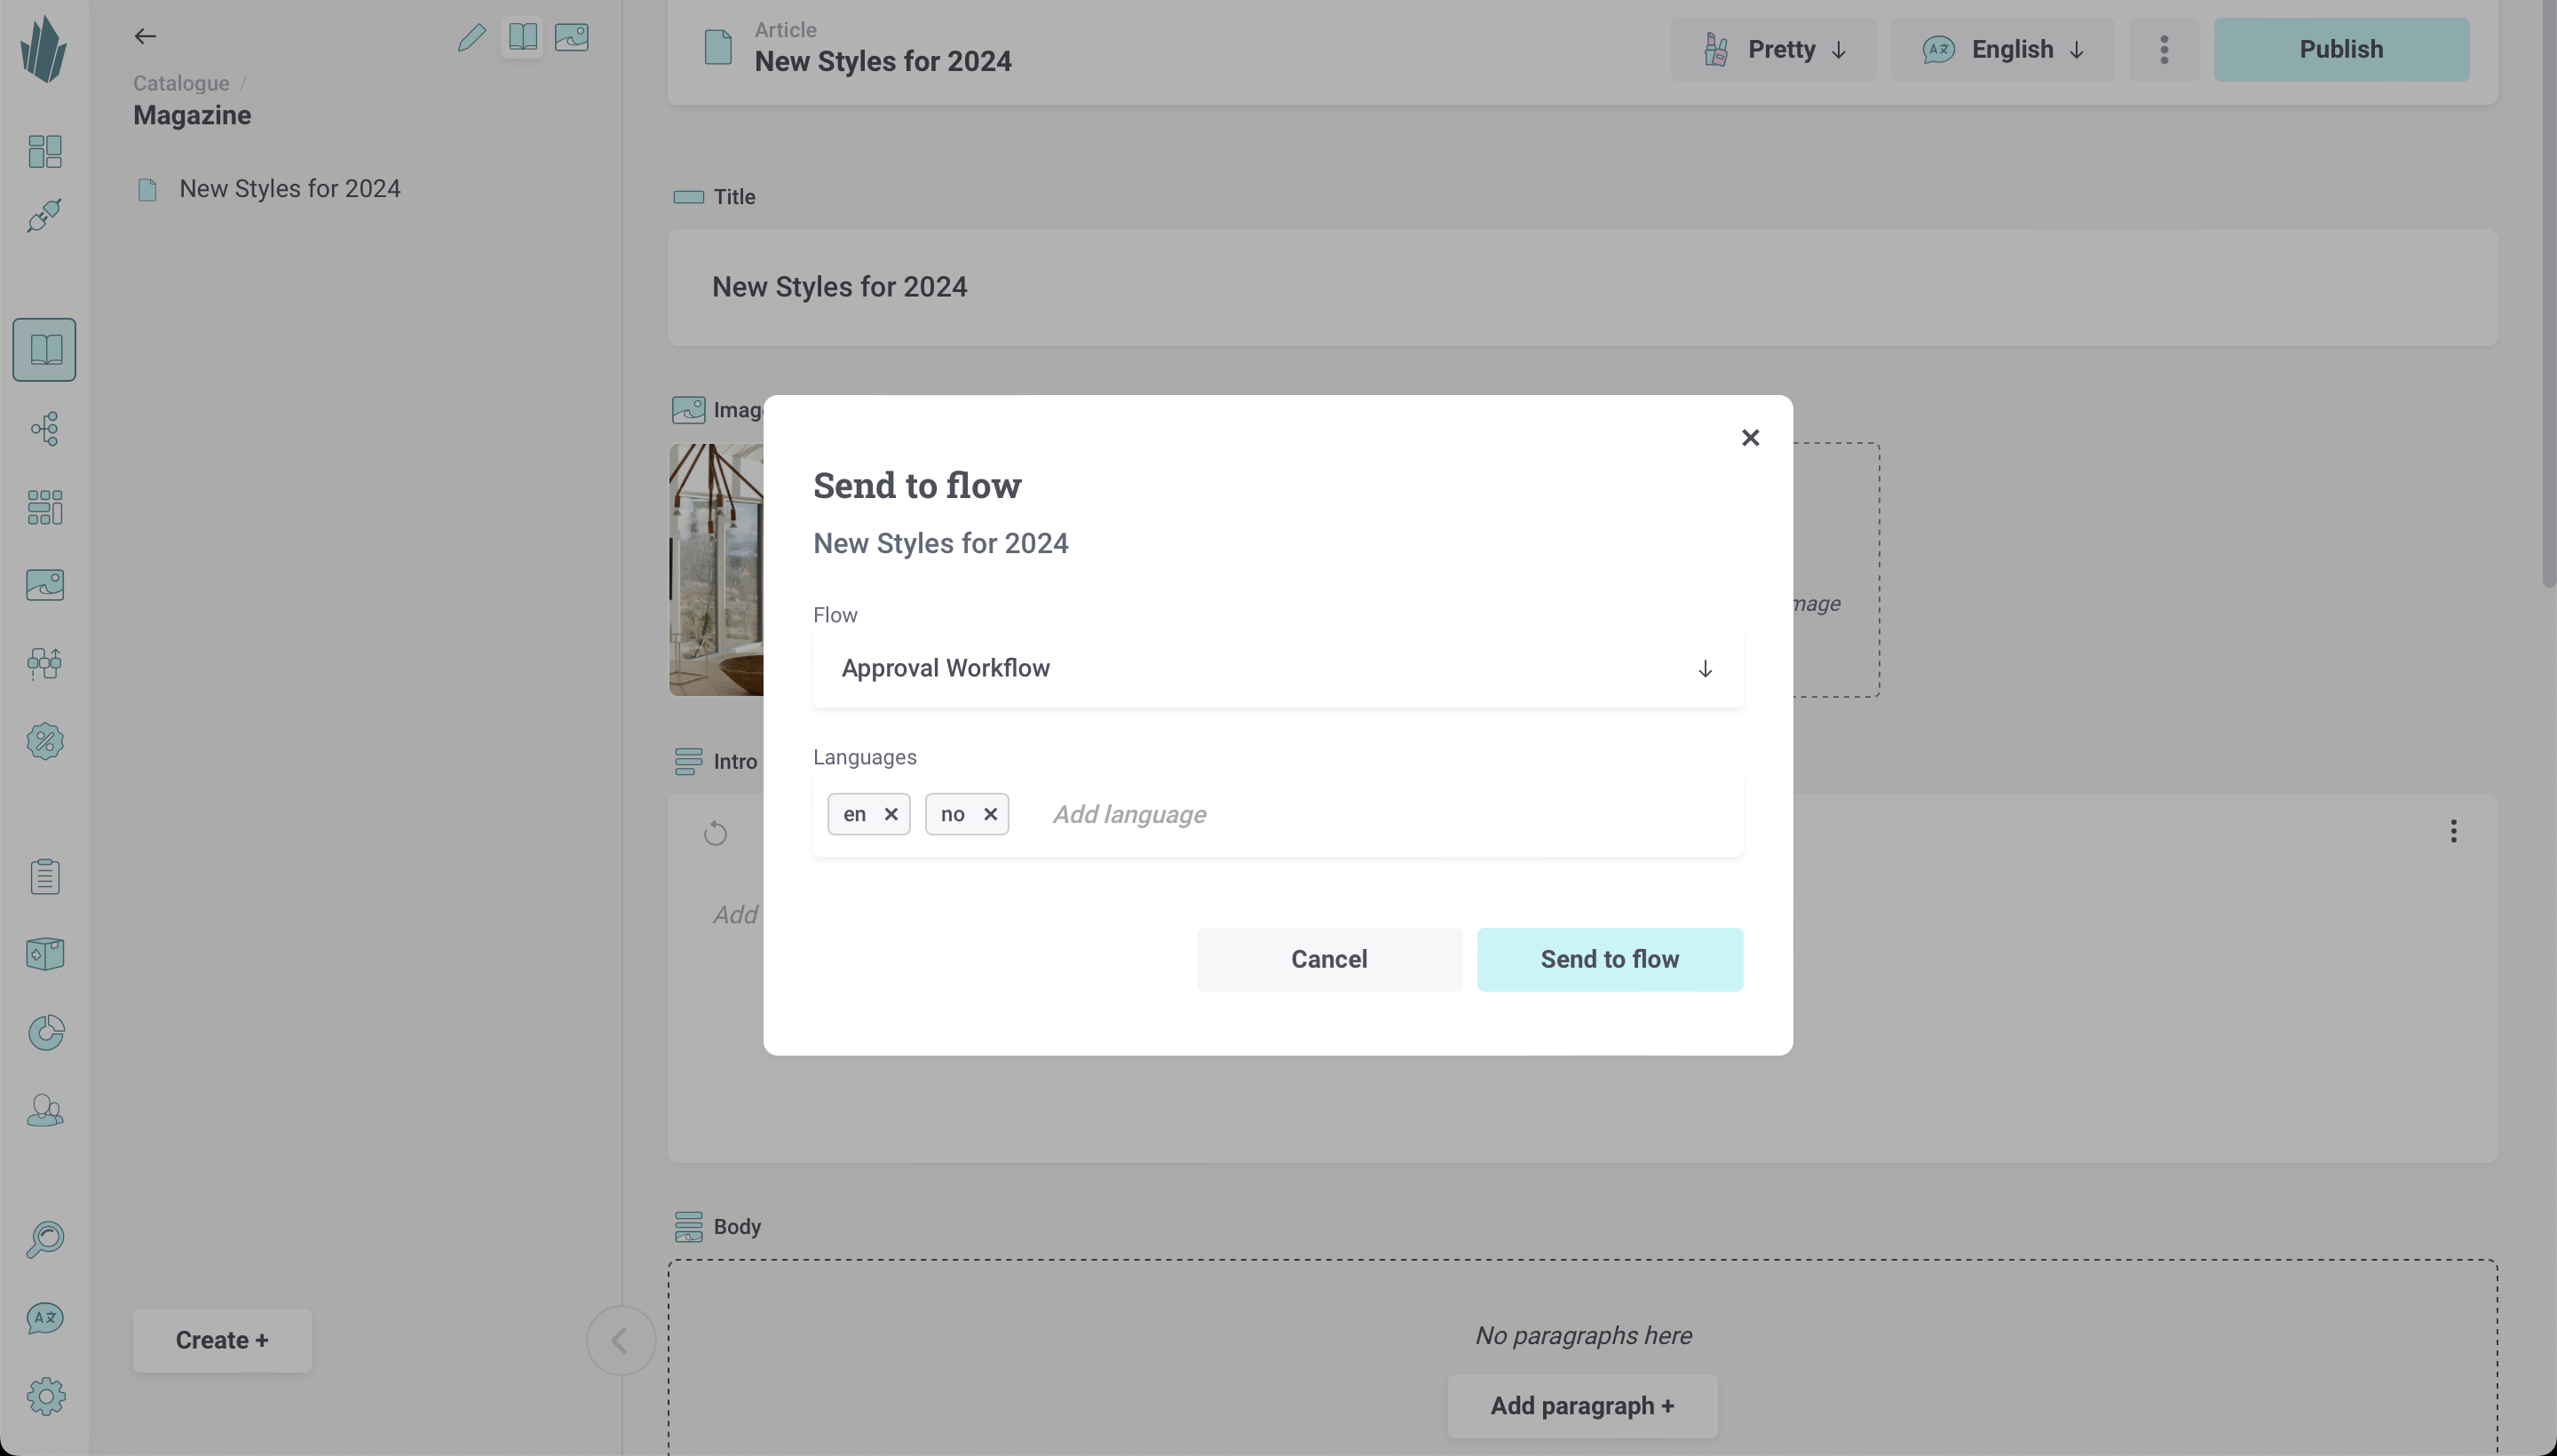
There are two ways to send items to a flow within the Crystallize App. To get started, browse to a product, document, or folder in your catalogue and open it for editing. From here, you can either click the action button (...) in the top right of the screen and choose Send to flow, or click the pencil icon at the top of the catalogue browsing panel and click the Send to flow + button.
Select the desired flow from the drop-down menu, select the language(s) you want by clicking on the Add language prompt, then click the Send to flow button.
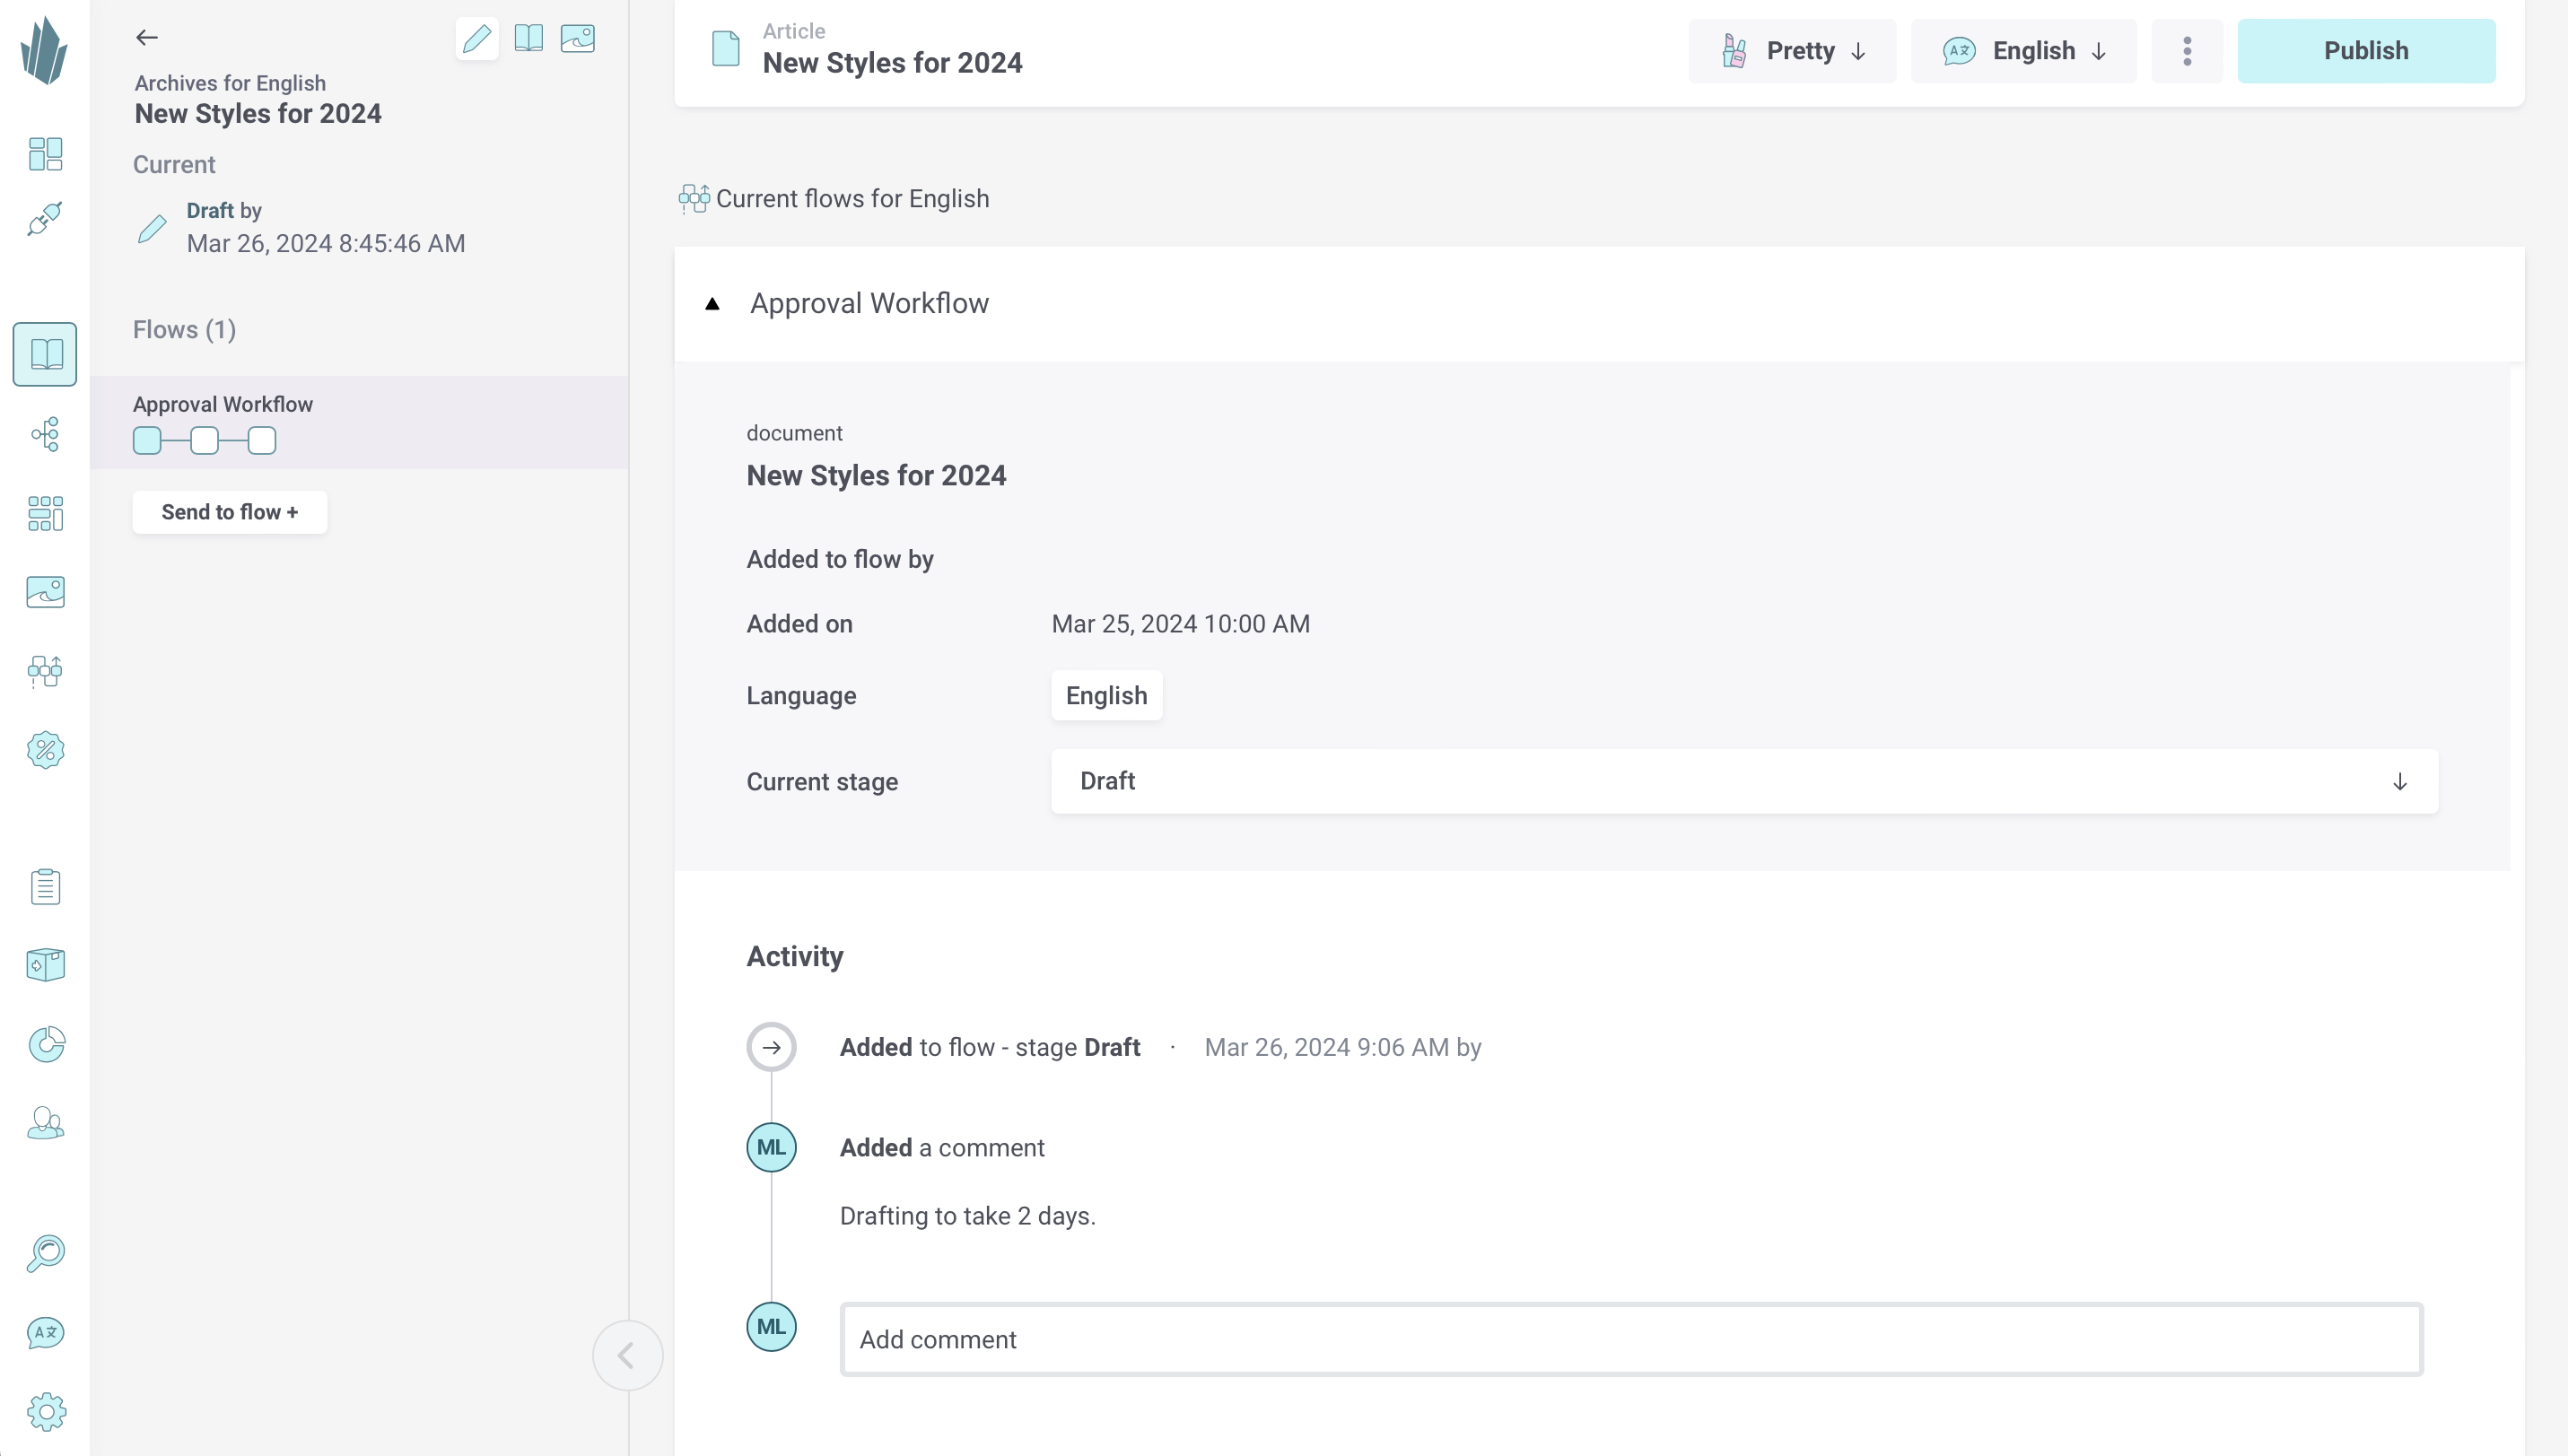
Once an item has been added to one or more flows, you can click the pencil icon on the catalogue browsing pane to see which flows it belongs to and what stages it's currently in. Clicking on the name of any flow will let you view it within the Flows screen.
While in the catalogue, you can also access the Views drop-down at the top of the screen and select Flows. Click the name of any flow to see a more detailed view of when the item was added to it, and the progress it's made over time. You can move the item to different stages or add comments to the audit log (explained in more detail below).
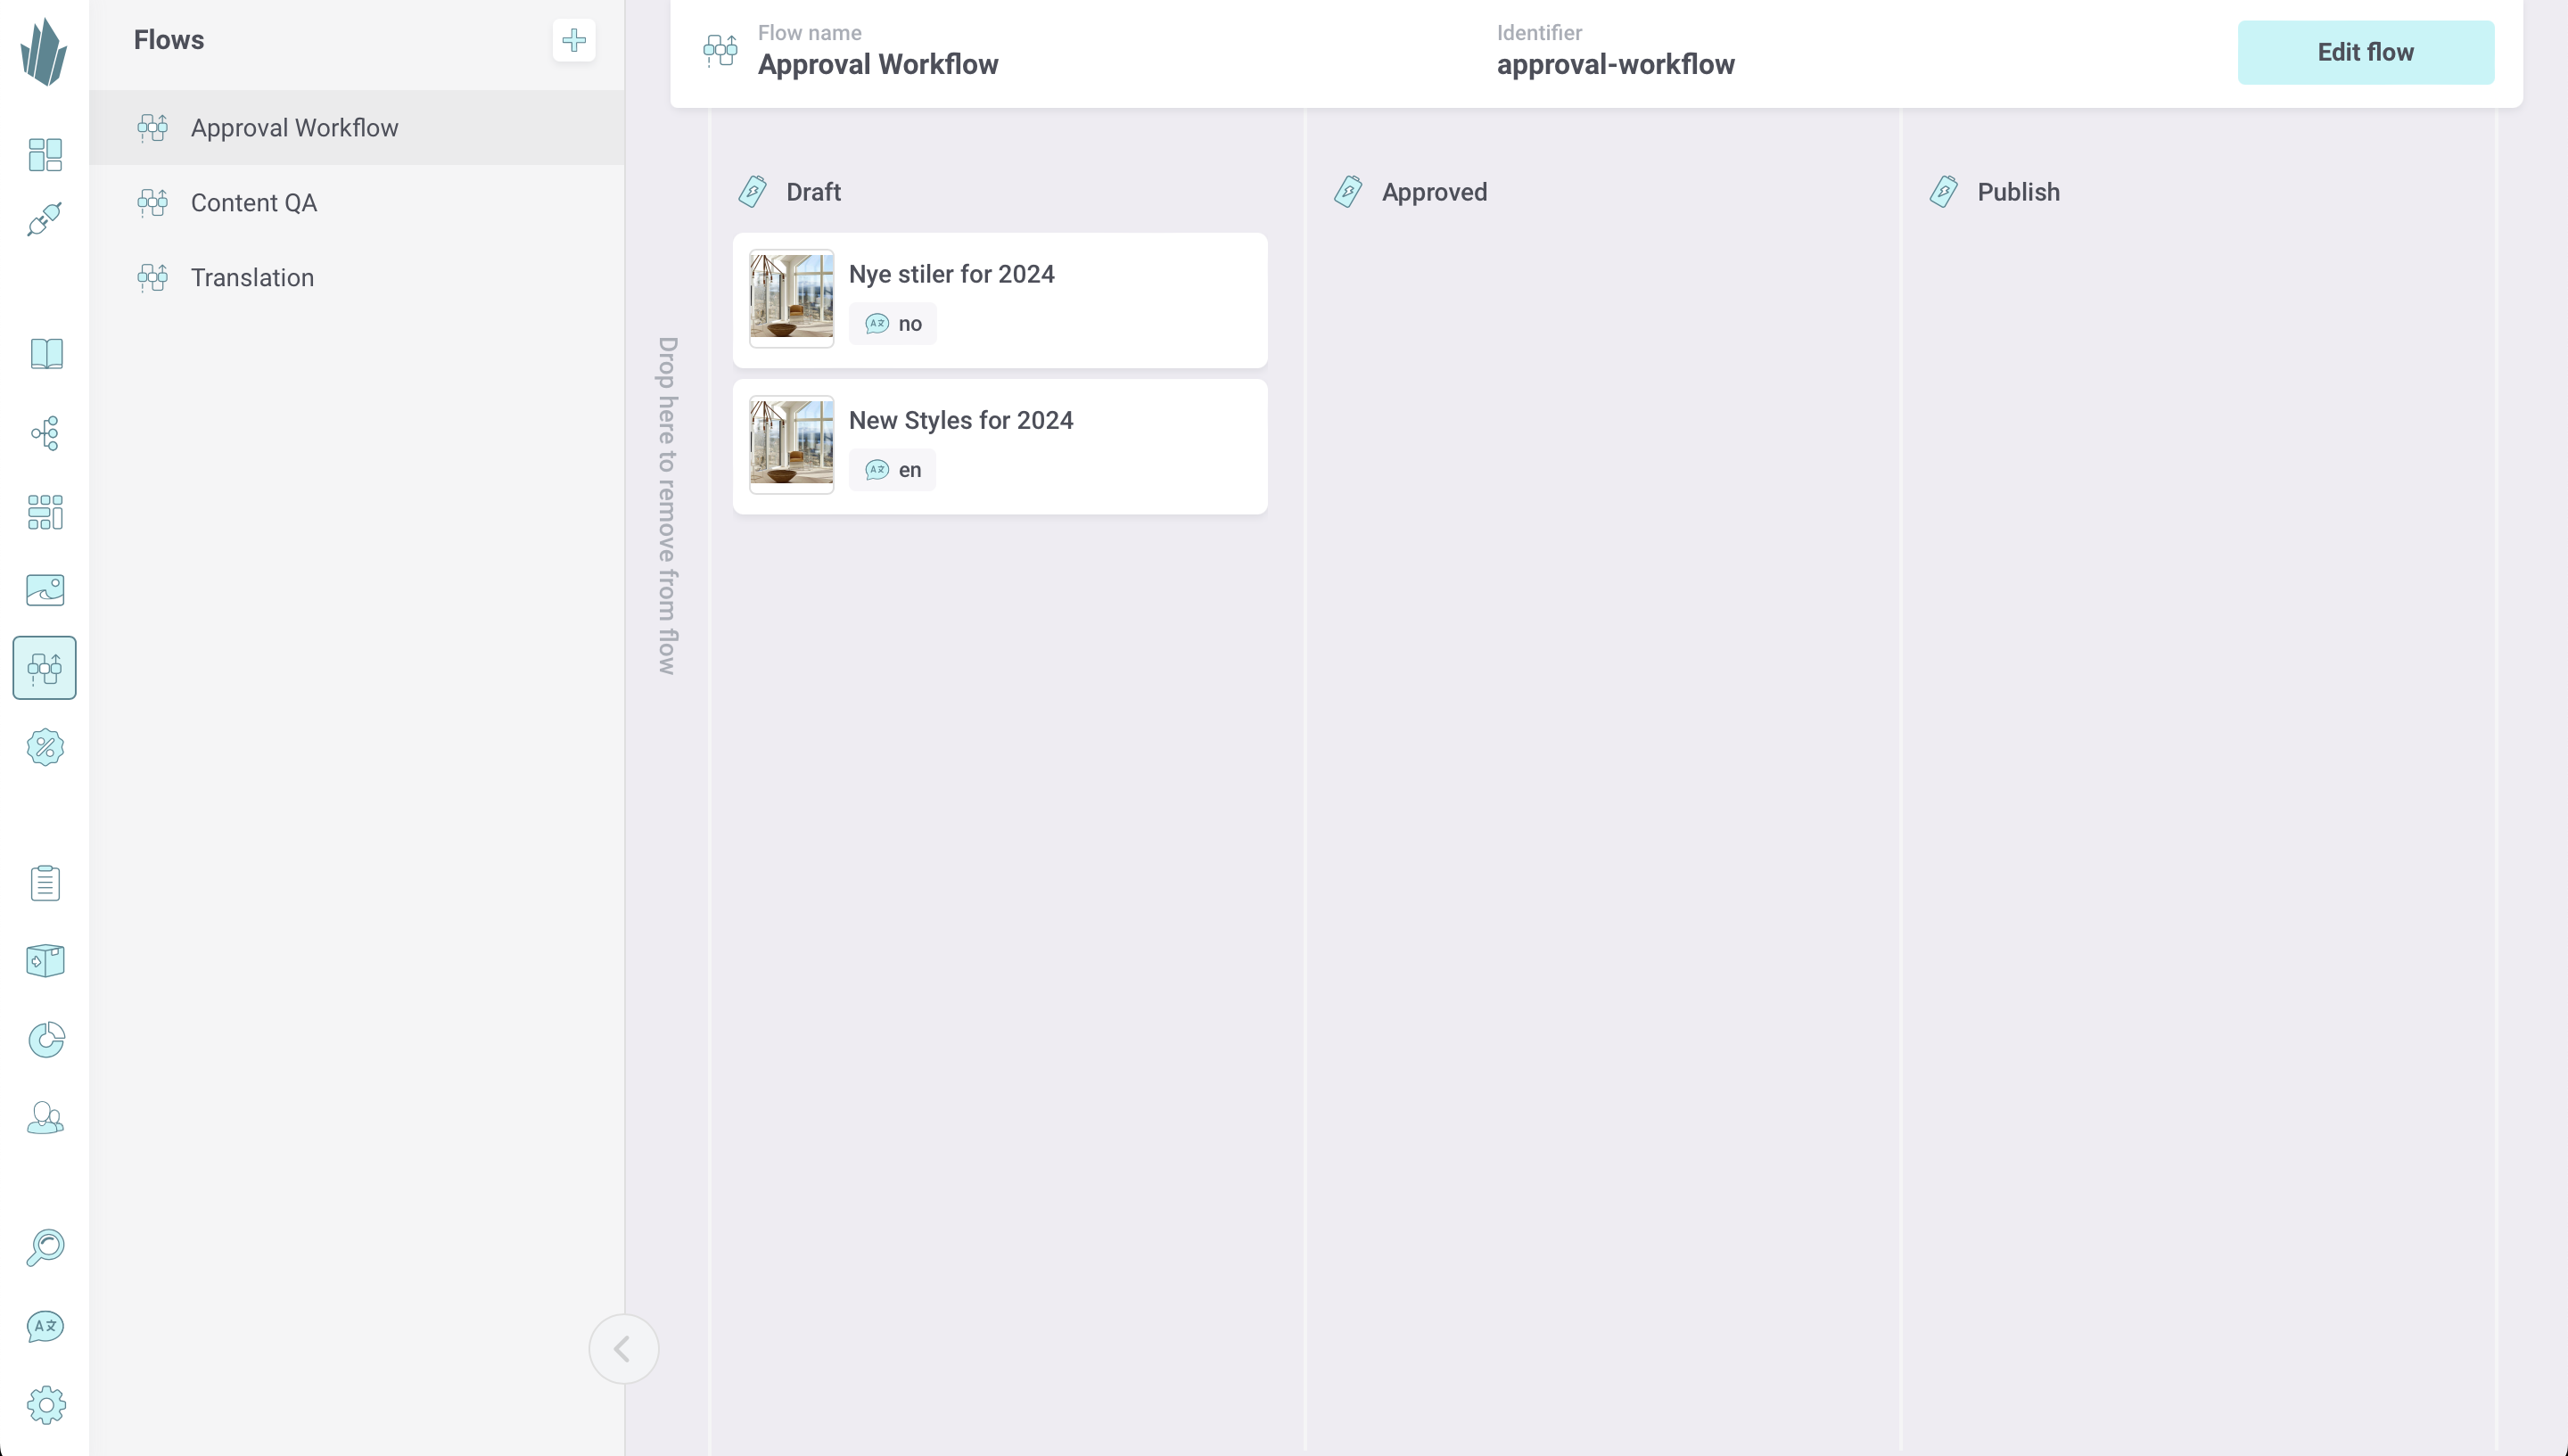
When you return to the Flows screen and click on an existing flow in the left-hand panel, you'll be able to see the items that have been added to it. You can click on the name or image thumbnail of any item to jump to its catalogue view.
Item Audit Logs
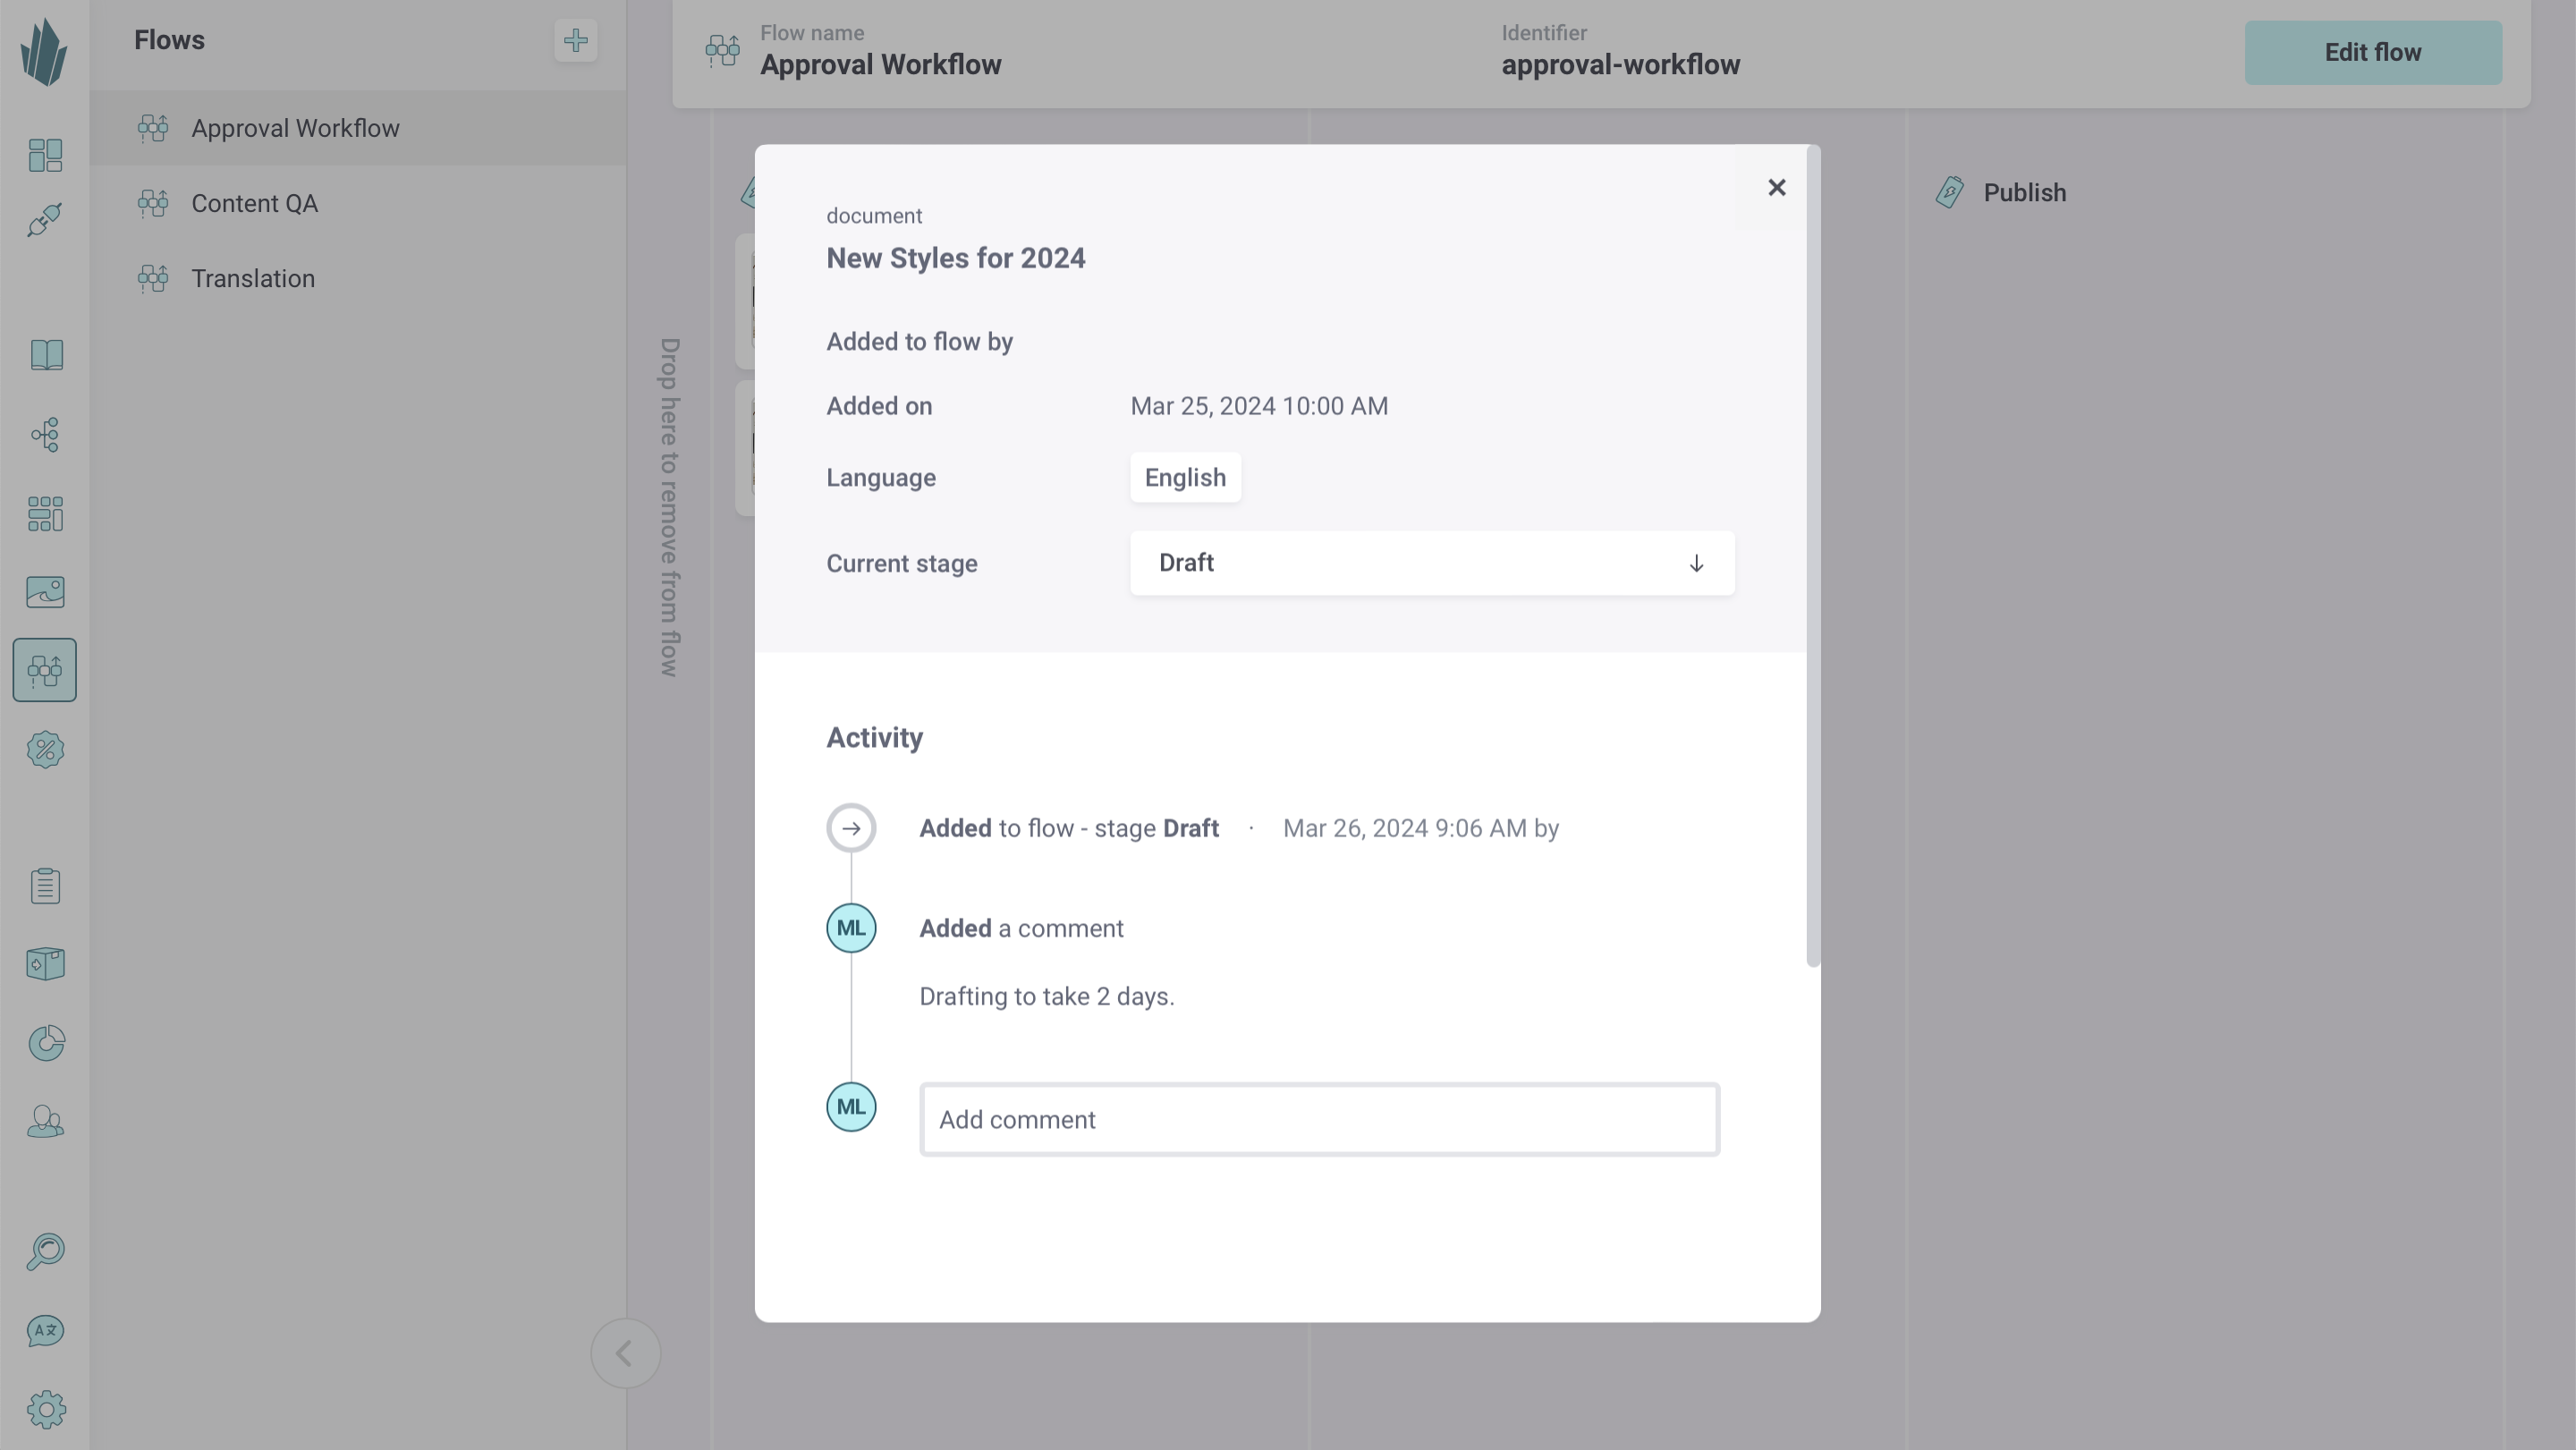
While viewing a flow, click on any item card to see a status screen similar to the catalogue Flows view. Audit log entries are made any time an item leaves or enters a flow stage. The Activity section shows when these actions occurred (in your local time) and the user who performed them.
It's possible to add comments to the audit log: for instance, to let everyone know that a certain step is expected to take 3 days. Click inside the Add comment text box to begin drafting a new comment, then click the Add comment button to add it to the audit log. The initials of the user who added the comment will be visible beside it.
Moving Items to Different Flow Stages
To move an item between stages, open the flow in question, then click and drag the item to the desired stage. You can click the checkboxes on the bottom-right corner of multiple items to select all of them at once, then move them with one click and drag. When you click on any item to view its activity, you can also use the stage drop-down menu there to assign the item to a different stage.
Whenever an item leaves one stage and enters a new stage, a webhook will fire for each of those events. This activity is also recorded in the items' audit logs.
Removing Items from Flows
To remove an item from a flow, click and drag it to the area of the screen marked "Drop here to remove from flow." You can also click on multiple items to select them, then delete them all with one click and drag. A webhook will fire for each item removed from a flow stage.
Even after an item is removed, its history of activity through that particular flow is preserved. If you later send an item back to a flow it's already been in, you'll see the activity and comments from its prior time(s) through the flow.
Editing and Deleting Flows
From the Flows main screen, select any existing flow from the left-hand panel, then click the Edit flow button in the top right. Using the arrow buttons on each stage card, it's possible to reorder them. You can also remove stages by clicking the action button (...) beside a stage's name and selecting Remove stage. Any items currently on this stage will also be removed from the flow, so proceed carefully.
While editing a flow, you can delete it by clicking the action button in the top right (...) and choosing Delete flow. This action can't be undone.
Flow-Related Webhooks
You can (optionally) set up webhooks to subscribe to flow-related events happening within Crystallize. For instance, you may want to send a document to AI for translation once it’s ready, or notify an editor whenever content reaches a "Ready to Publish" flow stage.
In Crystallize, events are fired whenever a product, document, or folder is
- Added to a flow stage
- Deleted from a flow stage
If a flow-related webhook payload is left empty, here's an example of the information that's returned by default:
{
    "id": "627502529161f671155e0f7c",
    "tenantId": "61ead01e8d99e53b1d1784d2",
    "stageIdentifier": "content-quality-master-data",
    "contentId": "660147be071970b9c73793eb",
    "contentType": "item",
    "language": "en",
    "movedFrom": "content-quality-draft",
    "userId": "5ea2a12f6efcda7732348e91"
}
For more information, read about defining webhooks here.
